9.26.2010

A Sleepy Doctor and My Favorite Granola


Scott wakes up very early everyday he works, which is six days out of the week.  I think his average wakeup time is 5:00AM.  I say “think” because I am never awake to verify this, I am happily unconscious when he wakes up, while eats breakfast, gets ready, leaves for work, and even when he arrives at work I am usually still sleeping.  This past Thursday morning, I went to the kitchen to indulge in my favorite part of the day, breakfast, before heading off to work. (Yes!  I am working now!)  Sitting on the counter I saw a Honey Bunches of Oats box that was not closed properly. 

Then I realized that it would not close because the bottom had been opened and it was upside down.  

 “Oh Scott,” I thought, “you poor thing, did you open the bottom of the bag too?”  

“Yup.” I figured he must have either been in a rush or very tired when he opened the box and for a brief moment I was worried that both the top and the bottom of the bag might be open.  I secured the bottom of the box and flipped it over and found that luckily that was not the case.   

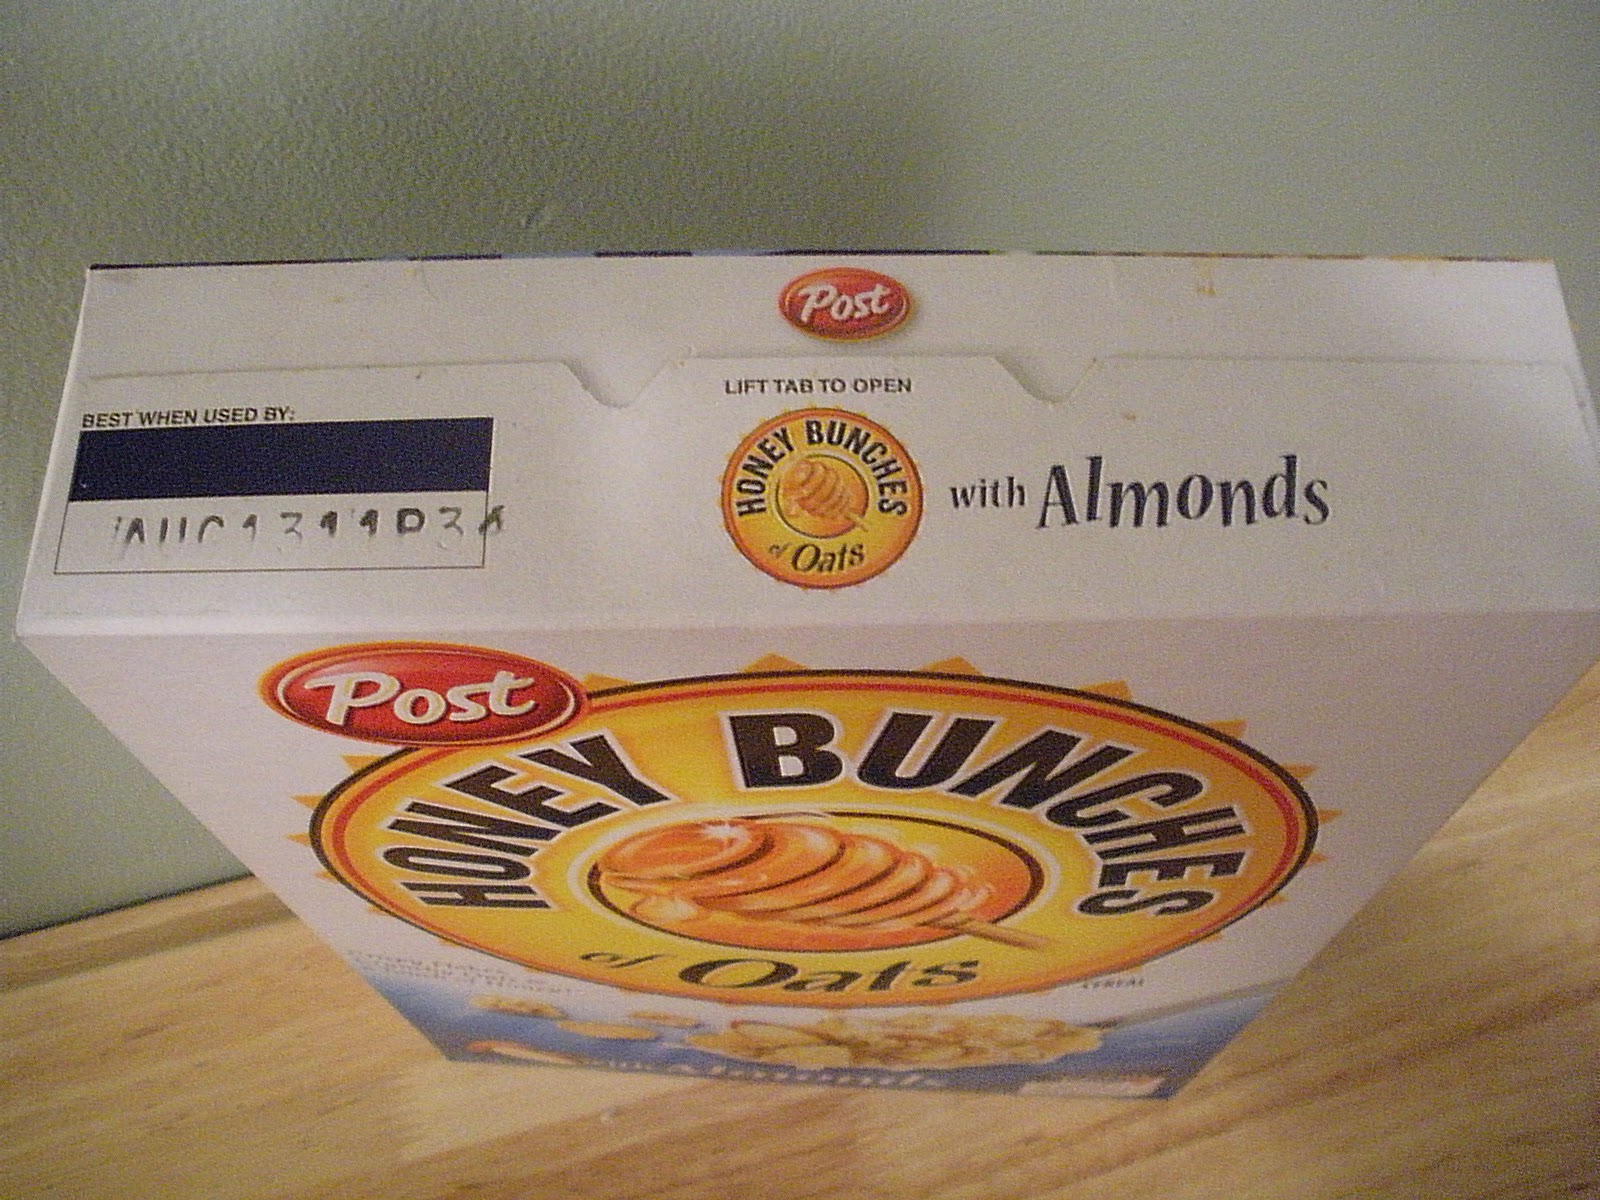
When I asked Scott about the cereal box at supper that night he said, “You know, I remember thinking that the box was abnormally difficult to open.  I was so tired I did not realize why.”  So there you have it, patients beware!  Just kidding.  I promise!  Since patients are much more important than boxes of cereal, and because he has been awake a full hour (instead of a mere 30 seconds) before working with patients, I am confident when I say Scott’s cognitive abilities are fully functioning once he arrives at work.  You do not need to worry. ;)

Since we are talking about breakfast I want to take this opportunity to share with you my new, all time favorite granola recipe.  I am in love with this granola!  It was my wonderful mother who first came up with this recipe and every time we would go home to visit she would always have a jar of it sitting on the counter.  It was probably the first and last thing I would eat on my visits home and definitely the thing I would nibble on the most often!  It is addictive!  The recipe uses both real maple syrup (which has my undying allegiance forever and ever), and freshly grated nutmeg.  The two combine to make the most delicious, delightful granola I have ever popped into my mouth—and there has been many.  I cannot say how many different versions of granola I have made over the last two years, I even blogged before about a healthful one here before, but this is my hands-down favorite.   Try it, and see if it is not yours too!

Mom’s Maple and Nutmeg Granola
Not only do I love the flavor of this granola, it is a snap to make and I almost always have all of the ingredients on hand.  I also strongly suggest that you use nothing but real, pure maple syrup here.  I prefer the “dark amber” variety for its richness and depth of flavor.  To make sure you have real maple syrup look on the ingredient list, the only ingredient listed on the bottle should be “maple syrup.”  I know this is more expensive than the fake stuff, but I believe it is more than worth it.  Also, when you buy it, by the biggest jar or jug you can find, as this will almost always give you more for your money.  Finally, fresh nutmeg, this is not as expensive as you would think.  You can buy a good size jar for a great price that will last you a long time at World Market.
**If you love this recipe as much as I do, double it, use two sheet pans to bake it, and then freeze half of it until the other half is gone!**
Here are the ingredients you need:
3 ½ cups rolled oats
½ cup pecans or walnuts, quartered
½ cup slivered almonds
¼ cup brown sugar
½ tsp course salt
¾ tsp nutmeg, freshly grated
¼ cup extra-virgin olive oil
¼ cup plus 2 Tbls pure maple syrup
½ tsp. pure vanilla extract
Craisins, raisins, or other dried fruit (optional)

Preheat oven to 325 degrees.  In a large bowl, mix together rolled oats, nuts, brown sugar, nutmeg, and salt.  
Mmm freshly grated nutmeg smells so good!
All the dry ingredients in a bowl ready to be mixed!
Stir in extra-virgin olive oil, maple syrup, and vanilla extract until evenly coated.  Spread granola mixture on a large rimmed baking sheet and bake about 25 to 30 minutes, stirring mixture halfway through.  Add desired amount of dried fruit if you wish, and let mixture cool completely on the pan.  Store in airtight container at room temperature up to 2 weeks, or can freeze in ziplock bags up to 3 months.  

9.17.2010

Deer and a Caterpillar

Scott and I planted a vegetable garden, some flowers, hostas, and a hydrangea this summer.  Some things were a success, but most things under-produced, or, in the case of the zucchini and summer squash, died.  We know we didn’t do everything right.  Sometimes we watered too little, and other times too much, but we tried.  We love our plants and are very proud of them when they do manage to flower or squeeze out a vegetable or two.  That is why when Scott and I woke up last Friday morning to this, 

and this, 

and this 

and this,

we were devastated.  Ok, maybe “devastated” is too strong a word, but we were very upset.  How could someone do this to us?  We had battled hard to give our plants life.  We almost lost our hydrangea in the heat of July, but through an emergency transplant surgery and valiant watering efforts we were able to bring it back.  We were so proud when it seemed to make a full recovery!  After all our hard work, to eat our plants to the ground in one only night was not only disrespectful to us, but also cruel to our poor plants.  Yes, they were developmentally behind, but that’s no reason to just cut them off!  With no chance of living their fullest life!  Equal rights for all!  Wait, are we still talking about plants?  Anyway, we were ticked, the problem however, was that we did not know who the culprit was.

Friday and Saturday passed with no signs of the offender.  Saturday night we went to church to see the African Children’s Choir perform and had an amazing time.  They were so good that I decided to go back Sunday morning to watch them again while Scott was at work.  As I was pulling out of my driveway Sunday morning I noticed movement to my right.  Standing there, in our yard, were five deer.  

I was shocked; I had never seen deer anywhere in our neighborhood before.  I stopped the car and stared, they stopped what they were doing (coming back for seconds no doubt) stared back at me.  We sat and stared at each other for a while, neither one of us moving or giving up our ground.  “Fine,” I thought, “bring it on.” I put my car into Drive and drove down the road towards them honking my horn along the way. Two of them turned and ran away.  I reversed back up the street and prepared to “charge” them again.  I drove towards them again twisting and turning my car sideways across the street so I would come “at” them.  Two more ran away.  I repeated the maneuver with my car and succeeded in getting what I assume was the leader to run away as well.  I’m sure if the neighbors were watching my psychotic driving and honking out their window they now think I am nuts.  But I’m o.k. with that, like a mother defends her child, I will do anything to defend my plants!

After church that day I went to Lowe’s, which is conveniently across the street from my church.  There I was told by one employee to buy this one fertilizer that is pelletized human excrement (i.e. poop), which apparently marks our territory to the deer and will keep them away.  I thought it was an interesting theory so I put a bag of the stuff in my cart.  Even if it didn’t work I figured it would be good for the plants.  Then I went to this overwhelming aisle (at least for a novice gardener and “city girl” like myself), 

which has a ridiculous number of products to keep away any type of garden pest, whether weeds, rattlesnakes, or deer. There I found these scary looking products.  


I bought the one that was “organic” because the others were definitely not safe to spray on plants whose fruits we wanted to eat.


**Warning, if bugs make you squeamish, you may want to skip the next part of this post as you might lose your appetite before you get to my two recipes.**

I went home and sprayed everything.  Then, just as I was finished spraying, thinking my plants were now safe, I saw this.  

Look closer, THIS.  


Are you grossed out yet?


My flash made it look extra freaky!
I hate caterpillars.  I don’t care what they may become; they are gross.  They look like a fat worm, their bodies are too squishy, and the muscular, suction-cup legs by which this variety clings to plants are oddly very strong.  I don’t like them.  I think they are the bug that makes me the most squeamish.  To top it off, this one had white things hanging all over it.  What are those?*  Since Scott was at work, I had to face this one alone.  I grabbed a sturdy long stick and started nervously poking at it.  After a bit of poking, it released half its body from the branch.  Wasting no time I stuck my stick under its belly and flicked it as I squealed aloud, worried I would flick the caterpillar onto myself.  Luckily it landed about twenty feet away.  

I flicked it with my stick again and it landed here.

It lost most of its white things. Weird.  Steeling my nerves, I picked up the piece of wood it landed on and ran to the street ballet-style with my toes pointing out in order to carry the 
caterpillar as smoothly as possible. 


I left the caterpillar in the middle of the street to meet its fate.  (I could not kill it myself because a) I was too scared and b) I would feel bad.) 


Relieved of my charge and breathing easier, I started raking our backyard so we can hopefully plant grass this fall (more on that another time).  Within minutes two cars passed by and I wondered if they had ran over the caterpillar, but then I saw a blue bird dive down to the exact place I had left the caterpillar and then fly back up to the power line with it in its mouth.

The end.

 * Upon googling "Green caterpillar" I found out that the name of this creature is a tomato horn worm and according to this website that those white things are actually the cocoons of parasitic wasps whose larva eat the caterpillar from the inside out!   EEEWWWW!  I now know that I did that caterpillar a big favor by letting a bird eat it instead.  The website even suggests putting the caterpillar in a jar and feeding it until it dies--I'm sorry but why would you want to watch a caterpillar be eaten from the inside out?  Gross.  Anyway, before you totally lose your appetites, let us move on to the food part of this post below!


Luckily for Scott and I, neither the deer nor the caterpillar ate our peppers!  Speaking of peppers . . . this summer I’ve made some great Mexican and Spanish inspired dishes with peppers.  I’ve made chicken mole adapting this recipe to use some fresh peppers I bought at the farmer’s market. 


I have also made chicken fajitas using our favorite fajita recipe, which are quite juicy thanks to the garlic-lime mojo.  Yum!  And just last night I made a Spanish inspired red pepper soup that had a slightly sweet flavor from the peppers and the caramelized onions and a wonderful richness from the toasted almonds.   Scott and I both loved it and lamented I had not made more!  I have included both recipes for you below.
Roasted Red Pepper and Almond Soup, served with focaccia and a selection of cheeses

Chicken Fajitas
Serves 4
1 Tablespoon Canola oil
½ large white onion, cut into ½-inch-thick slices, (about 1 cup)
1 large green bell pepper, ribs and seeds removed, cut into ½-inch-thick slices (I often do ½ a green and ½ a red bell pepper each for extra color)
Coarse salt and freshly ground black pepper
8 ounces boneless skinless chicken breasts (about 2 small ones), sliced ½-inch-thick
8 6-inch (or 4 10-inch) flour or whole wheat tortillas, warmed
1 recipe Mojo de Ajo (recipe is below)
Guacamole, for serving
Pico de Gallo, for serving
Sour cream or plain yogurt, for serving
Shredded mild cheddar cheese, for serving
Heat a large, heavy skillet over high heat.  Add oil, and gently swirl to coat.  Add onion and bell pepper, and season with ¼ teaspoon salt.  Cook, stirring frequently to prevent burning, until onion is browned in spots and pepper has softened slightly and skin is blistered, about 5 minutes.  Season the chicken with salt, and cook, stirring frequently, until chicken is browned and cooked through, 5-7 minutes.  Add the mojo de ajo, and stir to coat.  Season with salt and pepper to taste.  Serve immediately with warmed tortillas, guacomole, pico de gallo, sour cream, and cheese.
For the Mojo de Ajo:
¼ cup extra-virgin olive oil
3 Tablespoons minced garlic (4-6 cloves depending on their size)
3 Tablespoons fresh lime juice (from two small limes)
1/2 teaspoon red-pepper flakes (add more if you like it hot)
½ teaspoon coarse salt
Cook oil and garlic in a small saucepan over low heat until garlic is soft and fragrant, about eight minutes.  The heat must be quite low to cook garlic for eight minutes without burning, or even caramelizing, it.  Remove from heat and stir in the lime juice, red-pepper flakes, and salt.

Roasted Red Pepper and Almond Soup
Serves 2 as a first course
Inspired by a soup I ate at Lincoln Cafe in Mt. Vernon, IA and also from this recipe on Pioneer Woman's website
3 large red peppers or four small ones
½ medium onion, chopped
2 Tablespoons olive oil
1/4 teaspoon ground cumin
2 garlic cloves, minced
½ cup almonds
1 cup chicken stock
¾ cup milk, half and half, or even cream if you’re feeling dangerous
Salt and pepper

Oil your grill rack or put a small amount of Canola oil in a large skillet.  Start your grill or heat the skillet on high heat.  Char the red peppers thoroughly, turning the peppers every few minutes so the skins get nice and black.  The blacker it is the easier it will be to peel the skin off.  Take the peppers off the grill/skillet and place them into a large plastic bag to “sweat” for a few minutes.  This isn’t entirely necessary but will aid in peeling the skins off.  While the peppers sweat, heat a soup pot over medium heat and toast the almonds until fragrant (skip this if you are using already toasted almonds), about five minutes.  Set the almonds aside.  In the same pan, heat some olive oil in the skillet and sauté the onion, stirring often until nicely caramelized.  Add the garlic and the cumin to the onion and cook for a minute or two more.  When peppers are cool enough to handle peel off as much of their skin as possible and de-seed and de-rib them.  Cut the peppers into large chunks and put them in a blender with the almonds, onions and garlic, and chicken stock.  Puree on your highest setting until all is “liquefied” as much as possible.  A few small, sand-sized pieces of almonds are fine and add some texture.  Return this mixture to the soup pot, add the milk to create desired thickness of soup (I left mine pretty thick), season with salt and pepper, and heat until ready to serve.

9.06.2010

Basil Ice Cream

This was written Sunday, September 5, 2010

It is such a beautiful, gorgeous day here in NC!  Scott is inside sleeping soundly after a long overnight call at the hospital where he was on his feet all night, so I’ve decided to come outside and bask in this glorious weather. I’m sitting on our deck as I type this, breathing deeply and relaxing under the giant trees in our backyard. This morning I had breakfast on our deck before going to church.  It was wonderful.  I felt like I was on vacation.  I leaned back in my chair, closed my eyes, and thought of nothing in particular.  It is so peaceful here on Sundays.  Everything is still.  Hardly any cars drive by, there’s no clanging from the garbage, recycle, and yard waste trucks, there’s no banging from the construction down the street, even my neighbor’s dogs have decided to give their nonstop barking a rest.  The only sound is the occasional shisss sound that the leaves make when a breeze drifts through.  The sun is warm, the breeze is cool; everything is harmonious, balanced, perfect.
Our garden is right next to our deck and sometimes, when the breeze is strong enough I get a subtle, delicious whiff of fresh basil.  Basil is Scott and my favorite herb with cilantro closely following.  It is probably most well known for use in pesto and caprese salads but there are many other delicious things to do with basil.  For example, basil ice cream.  I first had basil ice cream when Scott and I went out to eat for my birthday two years ago in Iowa City.  He ordered a flourless chocolate torte for dessert and I went the more adventurous route and ordered the restaurant’s strawberry basil ice cream.  I second-guessed my order as soon as I did it wondering why I always had to be so tempted to try something new.  In Italy I once tried a chocolate cigar flavored gelato, and for someone who doesn’t smoke, it tasted disgusting.  When my dessert arrived it was green.  In my head I had thought it would be pink from the strawberries with bits of green basil leaves, but this was the other way around.  It was a basil ice cream with slices of strawberry mixed in the ice cream.  Nervously I tried it, and I was pleasantly surprised!  It was very good!  I am not joking with you.  Scott had some and agreed that my order was the “winner.”  If you think about it, basil ice cream is not that weird.  Mint is used in savory dishes, but yet we love it in mint ice cream.  Why should basil, or any other herb, be different? 


About a year ago I tried to recreate that ice cream based off of my favorite mint ice cream recipe where I steeped the basil in the hot milk and then strained it out, but the result was not good.  This time however, I followed a recipe specifically for basil ice cream from David Lebovitz’s The Perfect Scoop where you leave the basil in and puree it in a blender and it turned out exactly as desired.  I made meringue “clouds” from the leftover egg whites to serve the ice cream in and topped the ice cream with strawberries in syrup.  The finished product looked beautiful and exotic, and it tasted like summer with the refreshing basil and sweet strawberries.  Scott and I ate our basil ice cream confection every night for four nights straight until we ran out.  If you have a plethora of basil or if you want to serve something a little different for company, try making this, I think you will find yourself, as I was, pleasantly surprised.


Basil Ice Cream Dessert
You can make everything in this dessert up to a few days in advance except I would make the strawberry syrup no earlier than four hours before you plan to serve it.  The ice cream will be hard directly out of the freezer so let it sit out for five minutes or so before scooping it.  If you make the ice cream the day you want to serve it, make it at least three hours ahead of time as the custard will need to cool for two hours before you can freeze it.

Basil Ice Cream:
1 cup (25g) packed basil leaves
¾ cup (150g) sugar
2 cups (500mL) heavy cream
1 cup (250mL) whole milk
Pinch of salt
4 or 5 large egg yolks (recipe calls for five, I did four because it is slightly healthier and the meringue recipe only calls for four egg whites)
1 lemon, preferably unsprayed
In a blender or small food processor, puree the basil leaves with the sugar and one cup of the heavy cream until the leaves are ground as fine as possible. (If this mixture ends up looking like whipped cream by the time the basil is pureed that is ok.)  Pour half of this basil mixture into a large bowl and add to it the remaining cup of cream. Place a mesh strainer on top of the bowl.
Warm the other half of the basil mixture in a medium saucepan with the milk and salt.  In a separate bowl, whisk together the egg yolks.  Slowly pour half of the warm milk and basil mixture into the egg yolks, whisking constantly so your eggs don’t scramble.  Then pour this mixture with the egg yolks back into the saucepan.
Stir this mixture constantly (so your milk doesn’t scald) over medium heat with a heatproof spatula, or a square-edged spoon, scraping the bottom as you stir. Stir and cook until the mixture thickens slightly and coats the spatula (happens between 170°F and 175°F or  77°C -79°C).  Pour the custard through the strainer and stir it into the cream mixture in the large bowl.  Zest the lemon into the custard, then stir until cool over and ice bath.  Chill the mixture thoroughly in the refridgerator.  Before placing it in the ice cream maker strain it one last time (to be sure to get rid of any curdled milk).  Freeze according to manufacturer’s instructions.

Strawberry Syrup:
1 cup (250mL) of water
¼ cup (50g) of sugar
1 lemon, zested
1 pound (450g) strawberries
Place the first three ingredients in a small saucepan and bring to a boil stirring until the sugar is dissolved.  Remove from the heat and pour into a small bowl and chill thoroughly.  Once the syrup is chilled, hull and quarter the strawberries and add them to the syrup.  Let the strawberries macerate for 1 to 4 hours.

Meringue Clouds:
These Meringue Clouds are nice for some added texture and crunch, but they are not essential.   So, if you’d rather make angel food cake or freeze your egg whites for another use that is fine, just make sure you label on the container you freeze them in how many egg whites are in there.
4 large egg whites (about ½ cup or 125mL), at room temperature
Pinch of salt
½ cup (100g) granulated sugar
¼ teaspoon vanilla extract
¼ cup (150g) powdered sugar
Preheat oven to 200°F (100°C).
Line a baking sheet with parment paper or a silicone baking mat.
In a large bowl whip the egg whites and the salt with an electric mixer on medium speed until frothy.  Then increase the speed of the mixer to high and whip until the egg whites begin to hold their shape.  Continue whipping and add the granulated sugar one tablespoon at a time.  Then add the vanilla and whip until stiff and glossy.  Sift the powdered sugar into the bowl and fold it in.  Divide the meringue into eight portions on the baking sheet placing them so that there is two rows of three lengthwise along the sides and two in the middle of the rows.  Dip a spoon into some water, tap off the excess, and make a well in the middle of each meringue for the ice cream.  Bake the meringues for one hour.  Turn the oven off and leave the meringues to dry out in the oven for another hour.  (I had to bake my meringues longer than one hour in order for them to be crisp.)  The meringues are done when they feel dry to the touch and lift easily off the parchment paper.  To store them, place them in a container that is completely airtight once they have cooled.

9.02.2010

Yellow Tomatoes

First, before we get started with this post, I would like to say that I've put an update on my Reflections blog (link also on right side of this page) that I felt fit better there than here on Expeditions in the Kitchen. The post consists of my raw reflections on my grandpa, our relationship, and my emotions after his death on August 22, 2010.

* * *

Whoa! Where did summer go? Suddenly school’s started, the US Open is in full swing (no pun intended), and this weekend is Labor Day weekend! Luckily for us though, summer’s produce has not come to an end yet. If you have not been enjoying it and taking full advantage of its colorful bounty, I beseech you to go to your nearest farmer’s market, farmer’s stand, or even the grocery store, and buy more than you know what to do with! Buy it all with wild abandon! Wonderful, fresh, healthy, tasty dishes await!

There are so many fun things to do with the many kinds of produce available, so I think today I’ll just start with my two favorite tomato varieties and in the coming days I’ll cover some of my other favorite summer produce.

I have been particularly in love with tomatoes this summer, especially the super sweet, unlike-any-other-tomato Sungold variety (could also be known and Sweet Gold). I usually halve and toss them uncooked or very lightly cooked into whatever I’m making. I do not enjoy eating tomatoes raw with no adornments, but Sungolds are the exception. Due to their exceptional flavor, I rarely cook them because I am fearful of ruining a good thing! I have enjoyed them as a bruschetta topping, in a salad with arugula, basil, parmesan, and a balsamic vinaigrette, or tossed into pasta with a cilantro and basil herb oil. Truly, anything you do with these tomatoes will be a delight!

My other favorite tomato is a new discovery I made just this year. They are yellow tomatoes that I unfortunately don’t know the exact name of (maybe Lemon Boy or Limmony), but they are a true lemon yellow color and have a round shape. They have a tangy flavor to them that is actually sort lemony and very clean and crisp. I have used them on pizzas, but making them into a quick sauce or soup with the fewest ingredients possible, so as not to mask their flavor, I found to be the way to go. When I had the left over sauce as soup the next day I literally giggled with greedy glee, quite smug with my discovery of the “mystery lemon tomato.”


Lemon Yellow Tomato Sauce

Besides the refreshing taste of these tomatoes, the yellow color of their sauce is stunning and makes for a unique presentation. The skins of the tomato are left on to boost the yellow color and also for the ease of preparation. Since we are adding the tomato juices to the pan (instead of discarding them) and only cooking the tomatoes briefly, this sauce will be thinner than the typical canned tomato sauce, which to me, seems perfect for summertime.

Adapted from Heidi Swanson’s recipe

Serves 3

1 ½ pounds/24oz/680g ripe yellow tomatoes, cored and cut into thirds

3 tablespoons extra-virgin olive oil

3 garlic cloves, chopped

¾ teaspoon fine grain sea salt or ½ teaspoon table salt

¼ teaspoon ground pepper or red pepper flakes

Remove the seeds from the tomatoes (doesn’t have to be all of them, just the majority) and chop into ¼ inch chunks reserving any juice.

Heat a medium saucepan immediately adding the olive oil, garlic, salt and pepper while the pan is heating. Stir occasionally until the garlic begins to sizzle and has just taken on some color. Add the tomatoes and their reserved juices and bring to a strong simmer in order to concentrate the juices. Cook briefly for 2 to 5 minutes depending on how much juice you have. Alternatively, if you have a lot of juice, add a tablespoon (or two) to flour to the garlic mixture before you add the tomatoes as this will help to thicken the juices. Taste for seasonings and adjust if necessary. Serve over pasta, gnocchi, meat, or eat as a soup. Enjoy!